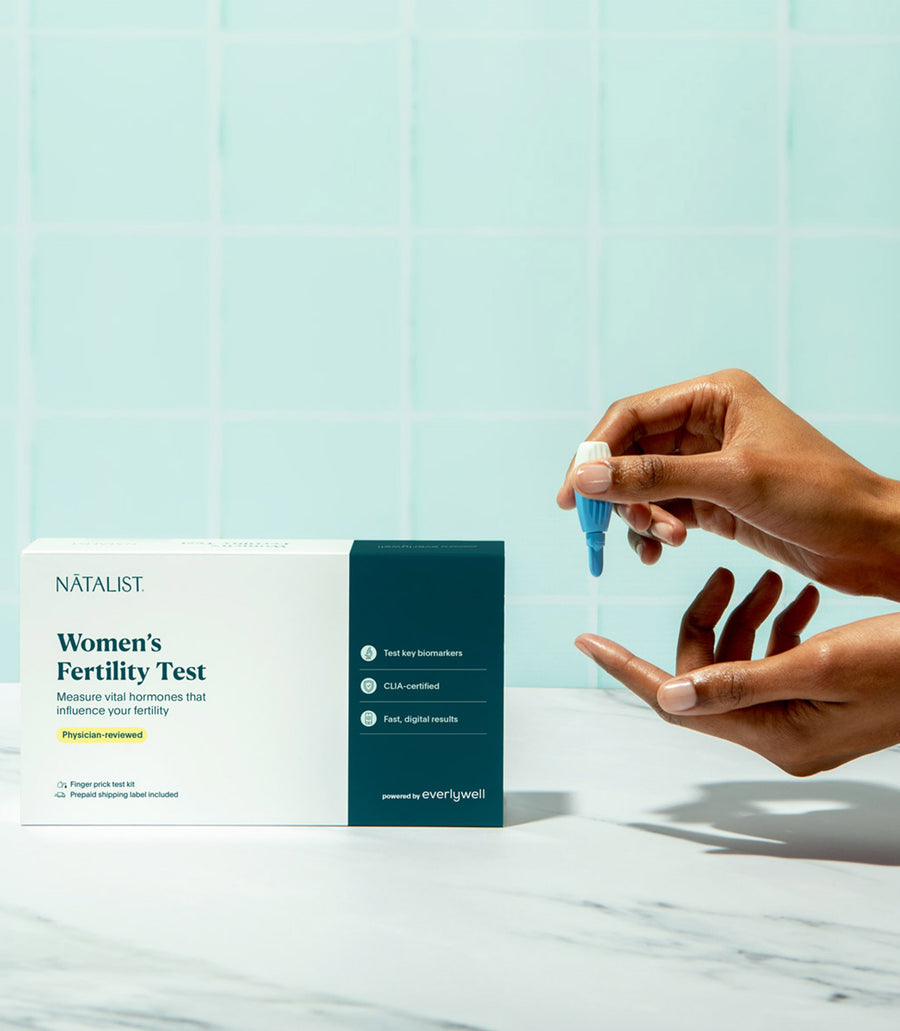
How to Use the Women's Fertility Test

We know that this may be a new (and exciting!) experience, and we want you to feel confident in the process. Here is everything you need to know about how to use your Women's Fertility Test
Register your kit
You must register your kit at everlywell.com/register before you collect. The lab cannot process your sample if this step is missed!
What the kit includes
-
An alcohol prep pad
-
Lancets
-
Gauze pad
-
Bandage
-
Biohazard bags
-
Collection cards
-
Return envelope
-
Lab form
-
Return label
When to collect your blood sample
Timing is very important when taking the Women's Fertility Test. Please be sure to collect your samples on the specific day below based on your cycle length:
*If you have less than 3 cycles per year or very sparse cycles, you can collect all samples together on any one day that you are not bleeding.
First collection
Regardless of your cycle length, be sure to collect on Day 3-4 of your menstrual cycle. (Day 1= First day of your period)
-
Collect blood spot- fill all circles on the 1st collection card
Second collection
Collect sample according to your cycle below. Be sure to fill all circles on the 2nd collection card.
Regular Cycle (21-35 days)
-
Collect your blood spot on Day 19-21 of menstrual cycle.
Short Cycle (< 21 days)
-
Collect 7 days before your next expected period.
Long Cycle (36-40 days)
-
Collect your blood spot on day 21 or 7 days after ovulation.
Prepping and collecting your blood sample
Prep
-
Drink a glass of water 30 minutes before collecting your sample.
-
You will collect 2 blood samples at different times (see above), but send all samples back together.
-
Remove contents of the box.
-
It's essential to get your blood flowing before you collect. Do this by warming your hands with hot water for at least 1 minute and then shaking them at your sides for 15-20 seconds.
Collect
Be sure to write your name, date of birth, and collection date on the collection card
-
Step 1: Select your ring fingertip and clean the desired puncture site using the alcohol prep pad. Puncture site should be on the right or left side of selected fingers.
-
Step 2: Fold collection card open on a flat surface. Remove and discard the plastic safety end of the lancet by twisting and pulling it.
-
Step 3: Please note that the lancet will only activate and puncture once. Place your finger against a firm surface. When ready to puncture, press down until an audible click is heard.
-
Step 4: Without touching the card, allow large drops to form and fall into every circle on the collection card for both collections. Make sure that your blood soaks through the back of the card. Leave your card out for at least 30 minutes until it’s completely dry. Apply bandage.
Returning your kit
-
Make sure your name, date of birth, and collection date are written on each collection card.
-
Place your samples in their respective biohazard bag.
-
You may leave the silica gel packet in each biohazard bag.
-
Carefully fill out the lab form.
-
Put your samples and lab form back in the box.
-
Send the box back in the return envelope using the shipping label provided (located at the bottom of the box).
-
Send back your sample using the shipping carrier listed on your return label.
Need more direction? Everlywell's Customer Care team is always available to answer any questions.
Reach Out, We're Here
Have questions about your order or products? For the speediest answer, check out our FAQ section. Need something else? Come find us below.
Please keep in mind our regular business hours; Monday-Friday, 9am-5pm CT.
Customer Support
support@natalist.com
Press Inquiries
media@everlyhealth.com
Business & Partnerships
team@natalist.com
Affiliates + Influencers
team@natalist.com
Job Openings
Careers Page


